Updates
Änderung bei Hotbird 13 E Empfang (I, CZ, PL, CH)
Stand 04.01.2022
- Download the HDCI+ Update file and unzip.
- Copy the six files on an empty USB-stick
- Put the USB-stick into the USB-port behind the flap in front of the receiver (right side)
- After starting the receiver push "Menu" button
- By using the arrow-button "right" or "left" you move to "System"
- Now go to "USB Update" and push "OK"
- Now, use "yellow" button for updating
- The receiver will reboot after the update
- Done!
- Das HDCI+ Update herunterladen und entpacken (ZIP-Datei)
- Kopieren Sie aus dem entpackten Ordner die sechs Dateien auf einen LEEREN USB Stick
- USB Stick hinter der Klappe am Receiver (vorne rechts) einstecken
- Nach Inbetriebnahme des Receiver die "MENÜ" Taste drücken
- mit der PFEILTASTE RECHTS oder LINKS „System“ auswählen
- bei "USB Update" 1x "OK" drücken
- Bestätigen Sie den Import mit der GELBEN TASTE, um das Update aufzuspielen
- der Receiver startet nach dem Update neu
- fertig
![]() |
Quick-Guide
|
! ! ! Before modifying the search transponder, first check the software version ! ! !
- Press button 1 to set S.S.C.® HD on standby- the "green" status LED lights up.
- Press button 4. The menu is displayed.
- Press button 3 five times.
- Then confirm "Version" with button 4
Now, the software version appears in the first line.
The version is displayed as follows: SW:18.03.16
If your version is before March 18th 2016, please send the S.S.C.® HD with a short notice "Please do the free firmware-update“ to the following address:
ALDEN Deutschland GmbH
Fehrenkamp 12
49434 Neuenkirchen-Vörden
You will get the S.S.C.® HD free of cost back to your address.
For more details, don't hesitate to contact us by phone or email!
ALDEN Deutschland GmbH – Fehrenkamp 12 – 49434 Neuenkirchen-Vörden
Phone: 05493 – 91 36 60 – Fax: 05493 – 91 36 63
info@alden-deutschland.de – www.alden-deutschland.com
![]() |
Kurzanleitung
|
! ! ! Bevor Sie die Transponderänderungen durchführen, überprüfen Sie bitte die Softwareversion ! ! !
- Taste 1 drücken S.S.C.® HD einschalten, sodass die „grüne“ Status LED aufleuchtet.
- Taste 4 drücken. Das Display schaltet sich ein.
- Taste 3 5x drücken.
- Mit der Taste 4 „Version“ bestätigen.
Nun können Sie in der ersten Zeile die Softwareversion ablesen.
Diese wird wie folgt dargestellt: SW:18.03.16.
Ist Ihre SW-Version älter als im Beispiel angegeben (also vor 18.03.16) senden Sie uns bitte Ihr S.S.C.® HD mit einer kurzen Notiz „Bitte um kostenloses Firmware-Update“ an:
ALDEN Deutschland GmbH
Fehrenkamp 12
49434 Neuenkirchen-Vörden
Sie erhalten dann das S.S.C.® HD kostenlos aktualisiert an die Absenderadresse wieder zurück.
Bei Fragen kontaktieren Sie uns bitte telefonisch oder per Email!
ALDEN Deutschland GmbH – Fehrenkamp 12 – 49434 Neuenkirchen-Vörden
Tel.: 05493 – 91 36 60 – Fax: 05493 – 91 36 63
info@alden-deutschland.de – www.alden-deutschland.com
Transponder update
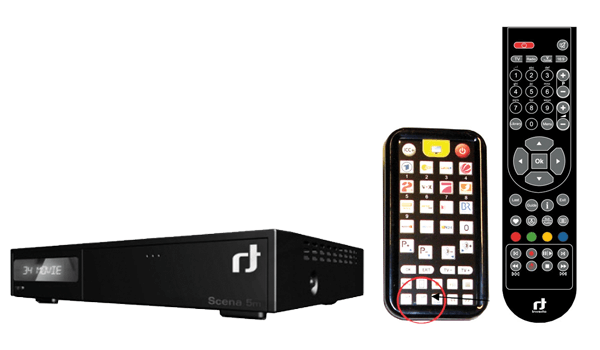
- Download and unpack the transponder update (zip file) and copy the unpacked data to an empty USB stick
- Switch on the S.S.C. HD with "on/off" (standby)
- Insert the USB stick
- Confirm the import with the "Menu" key
- Confirm the message "Import successful" with the "Menu" key
- Remove USB-Stick
- switch off, switch on
- Finished
Firmware update
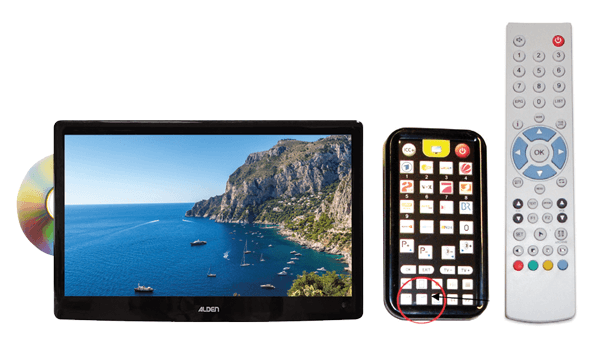
- Download and unpack the firmware update (zip file) and copy the unpacked data to an empty USB stick.
- Disconnect the 12 volt plug from the S.S.C. HD.
- Plug in the USB stick.
- Reconnect the 12 volt plug.
- Switch on the S.S.C. HD with "on/off
- Change the security prompt to "yes" with the arrow key "open antenna
- Press the "Menu" key to confirm.
- After approx. one minute, the information "Remove USB" appears on the display. Only now remove the USB stick.
- Confirm language "German" with the "Menu" key ???
- Confirm satellite "Hotbird 13" with the "Menu" key
- Finished
![]() |
Quick-Guide
|
For more details, don't hesitate to contact us by phone or email!
ALDEN Deutschland GmbH – Fehrenkamp 12 – 49434 Neuenkirchen-Vörden
Phone: 05493 – 91 36 60 – Fax: 05493 – 91 36 63
info@alden-deutschland.de – www.alden-deutschland.com
Transponderupdate
- Das Transponderupdate herunterladen und entpacken (Zip-Datei) und die ausgepackten Daten auf einen leeren USB-Stick kopieren
- S.S.C. HD mit „on/off“ einschalten (Standby)
- USB-Stick einstecken
- Import mit „Menü“-Taste bestätigen
- Meldung „Import geglückt“ mit der Taste „Menü“ bestätigen
- USB-Stick Entfernen
- Ausschalten, Einschalten
- Fertig
Firmwareupdate
- Das Firmwareupdate herunterladen und entpacken (Zip-Datei) und die ausgepackten Daten auf einen leeren USB-Stick kopieren
- 12 Volt-Stecker vom S.S.C. HD abziehen
- USB-Stick einstecken
- 12 Volt-Stecker wieder anschliessen
- S.S.C. HD mit „on/off“ einschalten
- Sicherheitsabfrage mit Pfeiltaste „Antenne öffnen“ auf „yes“ ändern
- „Menü“-Taste drücken zum Bestätigen
- Nach ca. einer Minute erscheint die Information „USB entfernen“ auf dem Display. Entfernen Sie erst jetzt den USB-Stick
- Sprache „Deutsch“ mit der Taste „Menü“ bestätigen ???
- Satellit „Hotbird 13“ mit der Taste Menü bestätigen
- Fertig
![]() |
Kurzanleitung
|
Bei Fragen kontaktieren Sie uns bitte telefonisch oder per Email!
ALDEN Deutschland GmbH – Fehrenkamp 12 – 49434 Neuenkirchen-Vörden
Tel.: 05493 – 91 36 60 – Fax: 05493 – 91 36 63
info@alden-deutschland.de – www.alden-deutschland.com
HDCI+ USB Senderlisten/Transponder – Update
Stand 06.04.2017
- Download the HDCI+ Update file and unzip.
- Copy the six files on an empty USB-stick
- Put the USB-stick into the USB-port on the left side of the TV (USB-SAT)
- After starting the receiver push "menu" button
- Use arrow-button "right" or "left" to move to "system"
- Now, go to "USB update" and click "OK"
- Then use the "yellow" button for updating.
- The receiver will reboot after the update
- Done!
- Das HDCI+ Update herunterladen und entpacken (ZIP-Datei)
- Kopieren Sie aus dem entpackten Ordner die sechs Dateien auf einen leeren USB Stick
- USB Stick an der Seite des Gerätes (USB-SAT) einstecken
- Nach Inbetriebnahme des Receivers die "MENÜ"-Taste drücken
- mit der Pfeiltaste rechts oder links „System“ auswählen
- bei "USB Update" 1x "OK" drücken
- Bestätigen Sie den Import mit der gelben Taste, um das Update aufzuspielen
- Der Receiver startet nach dem Update neu
- Fertig!